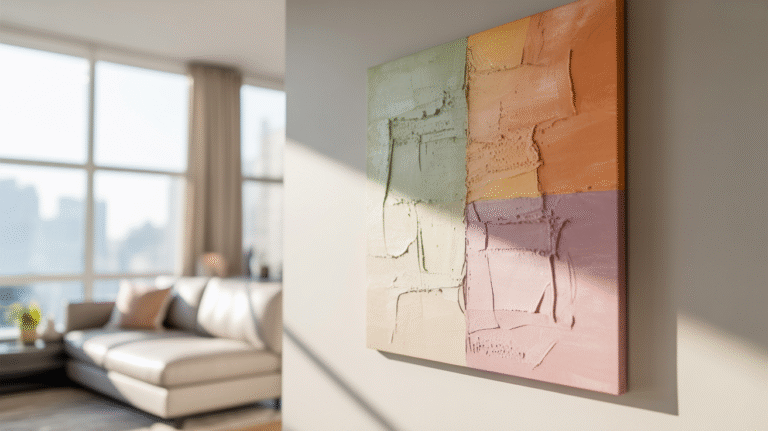
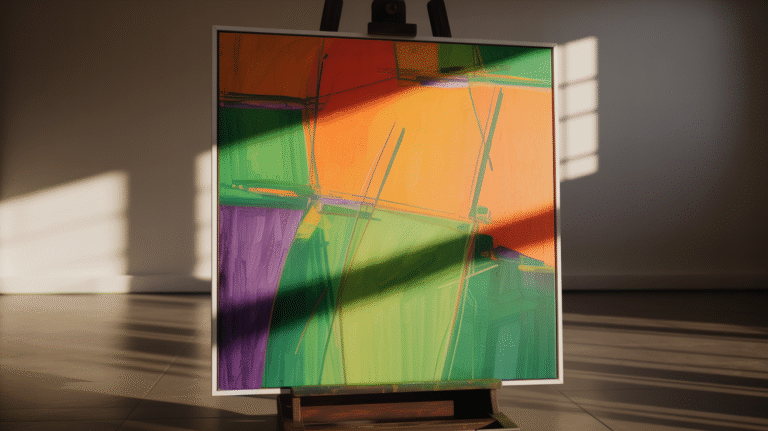
Creating your own wall art is a fun and rewarding way to personalize your space with your unique style. The best part is it doesn’t have to be expensive or difficult to achieve stunning results. With a few simple steps and some creativity, you can make striking pieces that transform the look and feel of your home.
How to Make Wall Art
By taking a DIY approach to wall art, you have the freedom to choose the colors, themes, and materials that speak to you. Not only will this allow you to create artwork that perfectly coordinates with your home’s decor, but it’s also a great way to explore your artistic side and develop new skills.
Choosing Materials

Selecting the Right Medium
When creating wall art, it’s important to select a medium that best suits your artistic vision and the available space in your room. There are several options to choose from, such as acrylic paints, oil paints, watercolors, or mixed media. Acrylics are versatile and dry quickly, making them ideal for beginners. Oil paints, on the other hand, dry slowly, allowing for more time to work with the paint. Watercolors are perfect for creating soft, delicate pieces. Finally, mixed media allows you to combine different materials to create unique and textured artworks.
Here’s a brief comparison of different mediums:
| Medium | Drying Time | Level of Difficulty | Texture |
|---|---|---|---|
| Acrylic | Fast | Beginner | Smooth |
| Oil | Slow | Intermediate | Thick |
| Watercolor | Fast | Intermediate | Delicate |
| Mixed Media | Varies | Advance | Varies |
Sourcing Materials
Next, you need to gather the necessary materials to bring your wall art to life. Start by choosing a canvas or other surface to work on. Canvases are available in many sizes and materials, including stretched, rolled, and mounted options.
In addition, you’ll need to source the following items:
- Paintbrushes: Select brushes of different sizes and shapes for a variety of effects.
- Palette: A surface to mix your paints on, such as a wooden, plastic, or disposable palette.
- Paint: Choose the appropriate type of paint based on your selected medium.
- Easel (optional): If you prefer working upright, an easel can provide support for your canvas.
- Protective materials: Cover your work area with a drop cloth or newspapers to protect it from paint spills and splatters.
Lastly, don’t forget to seek inspiration from various sources like art galleries, online platforms, or nature. Embrace your creativity and remember to enjoy the process of creating your own unique wall art.
Creating Your Wall Art

Design and Planning
Before you start creating your wall art, it’s important to plan the design and gather your materials. First, decide the type of wall art you want to create. It can range from abstract canvas paintings to wooden signs or even unique frames and map art. Take a moment to explore some DIY wall art projects for inspiration.
Next, create a sketch or rough draft of your design. This will help you visualize the end result and make any necessary changes before you begin. Consider the color scheme, shapes, and overall style of your artwork. Remember to choose colors and patterns that complement the existing décor in your space.
After finalizing your design, make a list of materials you will need. Common materials include:
- Acrylic paints
- Brushes
- Canvas or paper
- Adhesive paper
- Rope, yarn, or string (for wall hangings)
- Wooden frames or signs
Execution and Techniques
Now it’s time to bring your vision to life. To start, prepare your workspace by laying down protective materials like old newspapers or a drop cloth. If you’re working with paints, always wear protective clothing or an apron to prevent stains.
For Canvas Art, apply acrylic paint with brushes, sponges, or even your fingers. Use different brushstrokes and techniques, like stippling or blending, to achieve the desired effect. For a more textured look, consider using rope to create patterns on your canvas.
Wall Hangings can be created by weaving yarn, string, or rope into intricate patterns. You can also use found objects, like driftwood or recycled materials, to add a unique touch to your artwork. If you prefer something more modern, try making a color-blocked iridescent mirror.
Finishing Touches
After your artwork is complete, add any necessary finishing touches. This may include adding a protective coat of varnish to painted pieces or trimming excess yarn from wall hangings. For metal prints, consider choosing between a matte or glossy finish to enhance your artwork.
Finally, display your masterpiece proudly in your space. Choose the perfect spot that complements the rest of your décor, and make sure it’s securely fastened to the wall.
Congratulations on creating your very own piece of wall art!
FAQ: Make Wall Art
What materials do I need to start creating wall art?
To create wall art, you typically need materials such as canvas or wooden boards, acrylic or oil paints, brushes, a palette, and possibly some decorative elements like stencils, washi tape, or fabric.
How can I choose a theme for my wall art?
Choosing a theme for your wall art can be based on your personal interests, such as nature, abstract designs, or quotes. Consider what colors and styles resonate with you and how they complement your living space.
What techniques can I use to create texture in my wall art?
To create texture in your wall art, use techniques like layering paint, incorporating mixed media elements like fabric or paper, using a palette knife for thick paint application, or adding materials like sand or modeling paste to your paint.


