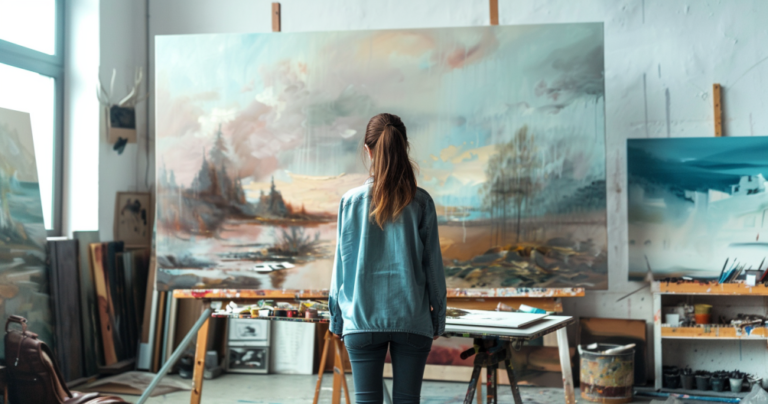
Painting with acrylics during the winter can be a magical experience. The season offers a unique palette of colors and textures, from the pristine white of snow to the dark shadows of bare trees. You don’t need a lot of colors or complicated techniques to create stunning winter landscapes with acrylic paints. Even if you’re a beginner, you can capture the essence of winter by following some simple steps.
Winter Painting Acrylic
There are countless ideas to get you started, such as painting snow-capped mountains or the soft glow of morning sunlight through icy trees. You can transform a blank canvas into a winter wonderland with just a few tools.
Getting Started with Acrylics
Understanding Acrylic Paint
Acrylic paint is versatile and quick-drying, making it a favorite among artists. These paints are made of pigments suspended in an acrylic polymer emulsion, which can be thinned with water. They are known for their vibrant colors, which remain bright when dry. One of the best things about acrylics is how easy they are to work with, especially when blending colors or layering.
You can paint on different surfaces like canvas, paper, or wood using acrylics. These paints dry faster than oils, so your work can be finished quickly. You’ll find both student-grade and artist-grade acrylics; the latter have more pigment and better consistency.
Essential Supplies
You’ll need more than paint to get started with acrylics. First, choose the right brushes. Synthetic brushes work well, as they hold acrylic paint better without damage. You should have a variety of shapes and sizes, such as flat, round, and filbert brushes.
Next, select a palette for mixing colors. A plastic palette is easy to clean, but a disposable one is also easy to use. Don’t forget to have a few canvas boards or panels as a surface to paint on. Consider using a spray bottle of water to keep your paint wet while working. Lastly, you need a varnish to protect your finished painting.
Setting Up Your Painting Space
Having a dedicated painting area can keep you organized and focused. Choose a spot with good lighting, ideally natural, to see true colors. Make sure your space is well-ventilated since some acrylic paints can have odors. Cover your surface with an old cloth or newspaper to prevent paint stains.
Organize your supplies within easy reach. Use jars or cups to hold your brushes and rags to wipe them clean. You might also want a small easel to prop up your canvas, making it easier to paint. Keep your spray bottle and palette nearby. With a tidy, inviting space, you’ll feel inspired to dive into your acrylic painting journey.
Techniques for Winter Scenes
Creating Textures for Snow
Use some techniques to create realistic snow textures in your winter paintings. One helpful method is to apply layers of paint using a palette knife. This helps make rough surfaces that look like snowdrifts or frosty ground.
Dry brushing is another effective technique. Dip lightly dry brush in white or pale blue paint, then gently sweep it across the canvas. This will highlight the snowflakes and frosty edges.
Soft blending with a sponge can create a smooth, distant appearance for distant snow. These techniques help give your snow depth and variety, making your scene feel lively and detailed.
Mixing Colors for a Winter Palette
Choosing the right colors is essential for a winter landscape. Please start by selecting shades of blue and white as your base, as they capture the chilly atmosphere. You can add a hint of blue or a touch of purple for shadowy areas to give them depth.
Warm colors like soft pinks or yellows can be included to suggest sunlight reflecting on the snow. Mixing blue, green, and a little white helps create a calm, icy tone for frozen lakes or rivers.
Experiment by combining colors on your palette before applying them to the canvas. This mixing process allows you the flexibility to balance the cool and warm tones, creating harmony in your painting.
Painting Winter Light and Shadows
Lighting is essential in any painting, and winter scenes are no exception. To depict the soft light of winter, use diffused, muted colors. The sun in a winter scene often appears lower in the sky, so shadows tend to be longer and softer.
Keep in mind that light in winter can have a bluish tint. You can add light washes of blue over white to give sunlit areas a crisp, cold feel. Try using a mixture of blue, gray, or a hint of purple to create soft, natural shadows on the snow.
These lighting techniques will help make the winter scene more realistic and visually engaging.
Frequently Asked Questions – Winter Painting Acrylic
Can you share some tips for painting winter scenes on canvas with acrylic paints?
Begin by using a thin layer of white paint for snow. Blend soft shades of blues and grays to represent shadows. Consider the direction of light to add depth. A sponge can help spread color smoothly and naturally, giving your scene a gentle, wintry feel.
What are some creative ideas for winter-themed acrylic paintings?
Try painting a winter forest with tall, snow-dusted trees under a pastel sky. Or, capture a cityscape with glowing streetlights reflecting on icy sidewalks. These themes evoke the season’s spirit and allow you to experiment with different textures and colors.
How can I choose the right colors for a winter landscape in acrylic painting?
Focus on cool colors like blues, grays, and muted purples. These mimic the look of snow and ice. A touch of warm color, like a soft pink or peach, can represent the morning or evening light, enhancing the mood of your painting.


