A quick start on How to Make Textured Canvas Art
Textured canvas art looks modern and feels satisfying to make. You spread a paste, create simple shapes like arches or waves, let it dry, then paint and seal. With a few tools and thin layers, you can finish a small piece in an afternoon.
In short: Prime the canvas, add a thin layer of texture paste, shape your pattern, let it dry, paint, and seal.
What “textured canvas art” means
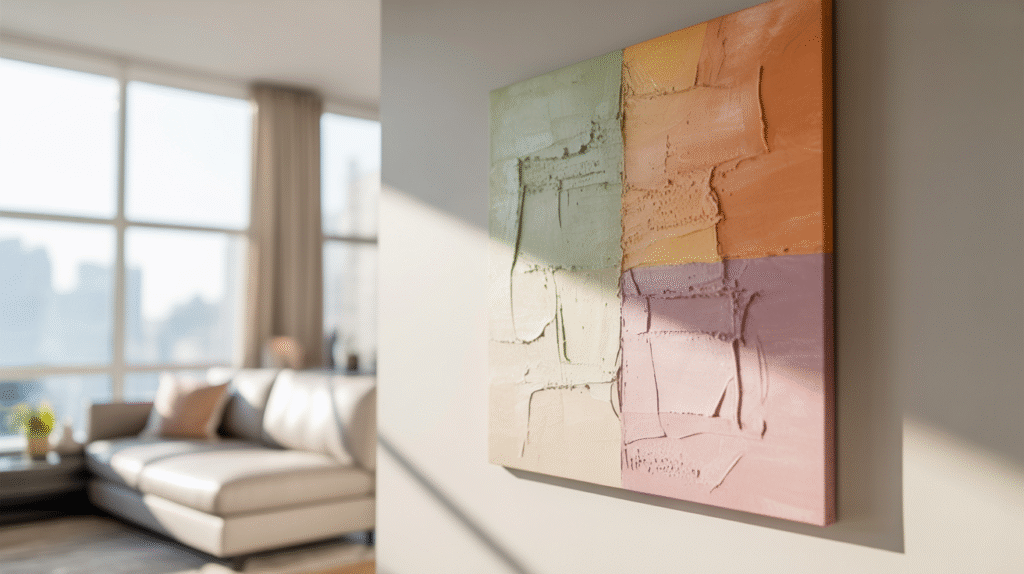
It’s regular canvas art with raised areas you can see and touch. The depth comes from pastes, gels, and simple tools. You can keep it neutral and calm, or go bold with strong color.
Materials you actually need
Surfaces
- Stretched canvas – light and easy to hang
- Wood panel – sturdier for thicker textures (less flex = fewer cracks)
Texture options
- Acrylic modeling paste / heavy gel – flexible, made for art; dries white
- Lightweight spackle/joint compound – budget-friendly; seal before painting
- DIY chalky mix – acrylic paint + baking soda for a matte, stone-like feel
- Gesso – primer; adds a subtle tooth
- Tiny splash of PVA glue can help spackle stick
Tools
- Palette knife or putty knife
- Notched trowel/comb for ridges
- Stencil or masking tape for crisp shapes
- Soft brush or small roller
- Fine sandpaper (320-600) for gentle smoothing
Paint & finish
- Acrylic paint (fast-drying)
- Clear acrylic varnish (matte for modern, satin for soft sheen)
- Optional glazing medium for translucent color
Safety & cleanup
- Gloves optional; dust mask when sanding
- Drop cloth, paper towels, water bucket
5 helpful tips before you begin
- Prime first. One thin coat of gesso improves grip.
- Keep layers thin on canvas (about 1-3 mm). For thick reliefs, switch to a wood panel.
- Test a corner. See how your paste dries and sands.
- Air-dry only. Heat can skin the surface and cause cracks.
- Seal spackle with acrylic medium so paint goes on evenly.
Step-by-step method (applies to most designs)
- Prep
Tighten the canvas if needed, add a thin gesso coat, let dry. - Mix texture
Use modeling paste straight from the jar, or spackle with a tiny bit of PVA.
For a chalky DIY look: mix acrylic paint with baking soda (start with 1 tsp per Tbsp of paint). - Apply
Spread paste with a palette knife at a 30-45° angle. Aim for even thickness.
Lightly sketch guides if you plan arches or lines. - Shape
- Arches/lines: pull the knife along your guide in one steady move.
- Ridges: drag a notched trowel in a single direction for clean grooves.
- Dry completely
Thin layers: 2-6 h; thicker areas: 12–24+ h, depending on room conditions. - Optional sand
Knock down sharp points with very fine grit. Wear a dust mask. - Paint & glaze
Roll or brush on acrylic paint. For soft depth, glaze a thin, transparent tint over the texture. - Seal
Apply clear acrylic varnish. Matte feels contemporary; satin adds a gentle sheen.
Three beginner projects to try
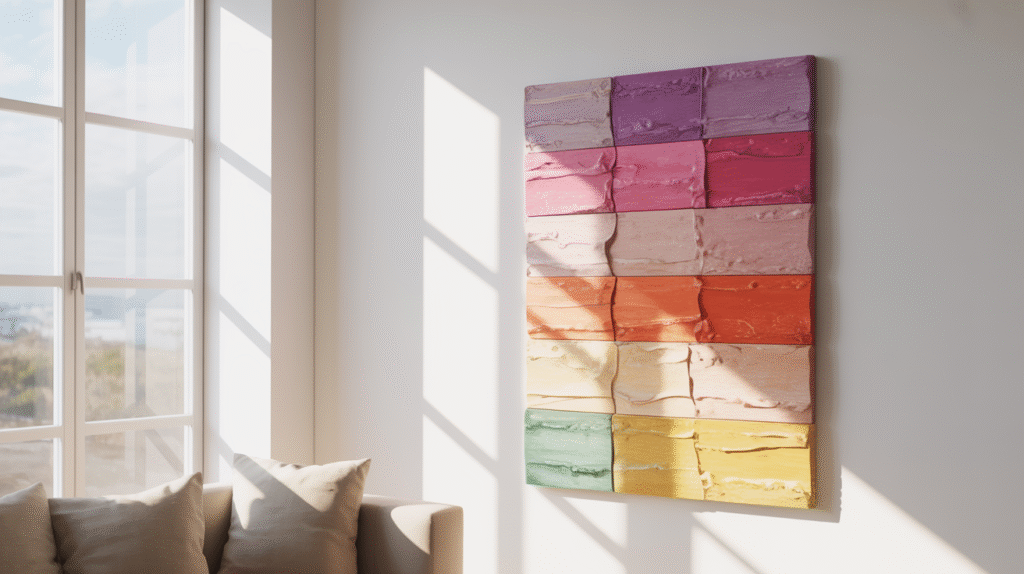
A) Minimal Arch Relief (calm & neutral)
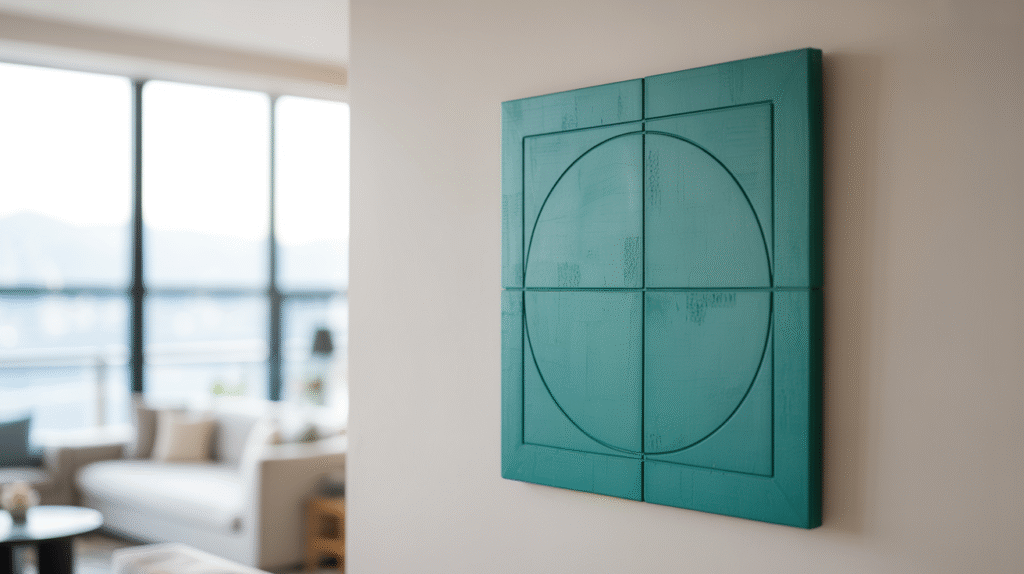
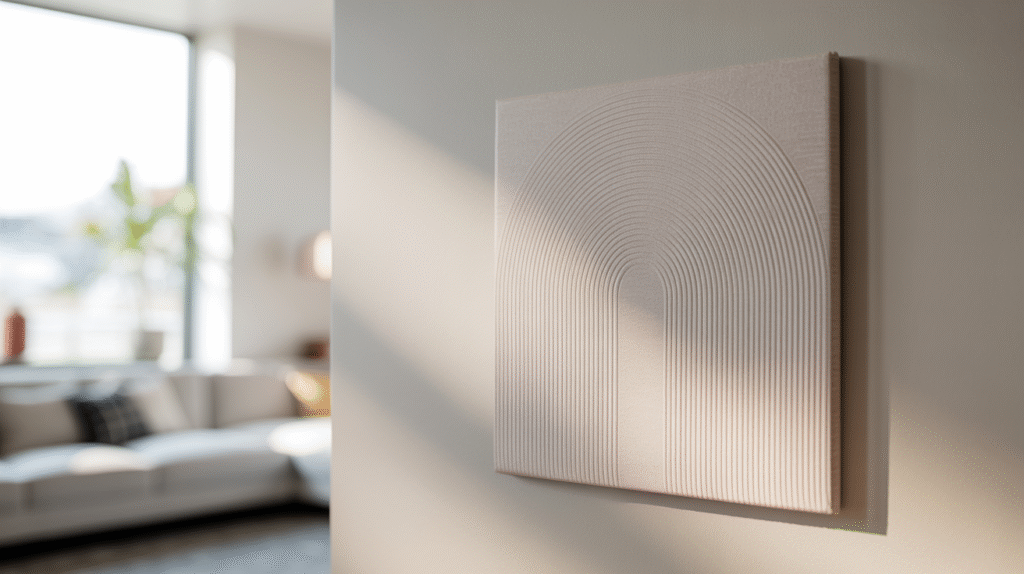
Tape a light pencil guide. Spread paste, then draw the arch groove with the back of a brush. Smooth edges, dry, paint off-white or beige, seal matte.
B) Wavy Ridge Panel (bold texture)
Spread a 2–3 mm layer. Pull a notched trowel in slow S-curves. Patch breaks with the knife. Dry. Paint one deep color, then dry-brush a lighter tint over the peaks.
C) Line-Art Relief (one-line face or leaves)
Sketch a simple line. Pipe paste through a heavy bag (small tip opening), like icing. Smooth peaks with a damp finger. Dry. Paint the background; leave the line white or glaze lightly.
Texture ideas to steal
- Bouclé dots: dab with a cut sponge for tiny loops
- Stucco swirl: short half-circles with the knife
- Tissue imprint: press wrinkled tissue into wet gel, seal on top
- String grooves: lay string, press, lift for clean lines
- Stencil relief: spread paste across a stencil; lift straight up
Colors that always work
- Neutrals: warm white, stone, greige
- Earthy: ochre, terracotta, olive
- Modern: charcoal, deep navy, black
- Soft: dusty rose, sage, mist blue
Tip: Paint the edges or wrap color around the sides for a gallery look.
Best Color Palettes for Textured Canvas Art
Textured pieces look their best when the color is simple and the texture does the talking. A good rule: choose one dominant neutral, one undertone, and one small accent. Keep the accent to 5–15% of the surface.
1) Clean Neutrals (modern, calm)
- Palette: warm white, soft beige, light greige
- Why it works: the raised pattern casts gentle shadows; color stays quiet.
- Use it when: you want a minimalist arch or stucco look.
- Tip: choose matte paint/varnish for a stone-like finish.
2) Earthy & Cozy (organic, warm)
- Palette: ochre, terracotta, olive
- Why it works: these sit near each other on the wheel (analogous), so they feel natural.
- Use it when: you want waves or trowel ridges with a rustic vibe.
- Pro move: glaze a thin olive over ochre to add depth without hiding the texture.
- Learn more: build these from primaries
3) Cool & Coastal (fresh, airy)
- Palette: mist blue, sage, warm white
- Why it works: light values keep the surface bright; soft contrast shows every ridge.
- Use it when: you want a light, breezy panel for small rooms.
- Tip: a tiny sage accent along the ridge peaks adds definition.
4) Bold Monochrome (graphic, statement)
- Palette: deep charcoal or navy + tiny light highlight
- Why it works: one dark field + dry-brushed highlight = crisp shadows on texture.
- Use it when: you want high drama with minimal color decisions.
- Finish: satin varnish makes dark textures read richer.
5) Complementary Pop (high contrast, gallery look)
- Palette ideas:
- Orange + Blue (warm focal + cool field)
- Purple + Yellow (luxury vs. light)
- Green + Red (natural + energy, use red sparingly)
- Why it works: complements sit opposite on the wheel, so accents spark.
- Use it when: you want one raised motif to stand out.
- Learn more: see how complements work
Quick Recipes (optional, easy to mix)
- Neutral Stone: Titanium White + a touch of Yellow Ochre → base; tiny Burnt Sienna for warmth.
- Soft Terracotta: Red + Yellow (to orange), mute with a touch of blue; lighten with white.
- Calm Sage: Yellow + Blue (to green), mute with a pinch of red; add white to taste.
- Deep Navy: Ultramarine Blue + a small amount of Burnt Umber; adjust with black sparingly.
Drying, cracking & durability
- Thin layers flex with canvas and crack less.
- For sculptural depth, use wood panels.
- Spackle needs sealing, then paint, then varnish.
- Avoid very humid rooms unless well sealed.
Troubleshooting (quick fixes)
- Cracks after drying
Too thick or dried too fast. Fill with fresh paste, keep future layers thinner—or switch to wood panel. - Poor adhesion
Surface was dusty or oily. Re-prime with gesso; use modeling paste for better grip. - Ridges slump
Paste too wet. Let it sit 5–10 minutes, then shape; or choose a thicker paste. - Blotchy paint on spackle
Seal with acrylic medium first, then repaint. - Dust from sanding
Sand lightly with fine grit, wear a dust mask, wipe clean with a damp cloth.
Planning: cost & time
- Budget: ~€15–€40 for a small piece (canvas, spackle, basic paint)
- Hands-on time: 1–2 hours
- Drying: usually overnight
Maybe you want to build you own canvas? Then take a look at this article.
Eco & cleanup
Wipe tools before rinsing. Don’t pour thick paste down the sink—let it dry and toss solids. Close lids tightly so pastes last longer.
Alt text ideas (for your CMS)
- “Neutral textured canvas with raised arch pattern in matte beige.”
- “Close-up of wavy ridges made with a notched trowel on white canvas.”
- “Piped white line-art face in relief on a soft gray background.”
FAQ
Will spackle crack on canvas?
It can if it’s too thick. Keep layers thin or use a wood panel. Seal and varnish to protect.
Modeling paste or spackle?
Modeling paste is flexible and made for art. Spackle is cheap and easy, just seal it first.
Can I paint over the texture?
Yes. Acrylic works best. Glaze for soft, layered color and seal at the end.
Do I have to prime?
Yes. Gesso helps everything stick and dry evenly.
How do I hang heavier pieces?
Use wood panels with D-rings and wall anchors. Keep canvas textures thin for light weight.
Try this today
Start with the Minimal Arch Relief. One thin layer, one clean arch, one calming color. Share your result in the comments and tell us which texture you’ll try next.

